Let’s not beat around the bush. Fish and other aquarium inhabitants are constantly putting off waste in the forms of urine and feces.
I know, kinda gross, but they really don’t have a choice in the matter.
These wastes settle in the gravel, rotting, and putting off nitrates that foul your water. Creating the perfect environment for detritus worms to thrive in huge numbers.
Using a gravel vacuum to clean out your substrate removes these wastes and helps to keep your water within healthy parameters.
This guide walks you through exactly how to clean your aquarium gravel.
How to Clean Aquarium Gravel
Don’t worry, it’s not hard at all to get the gunk out of your substrate.
In fact, gravel is the easiest kind of aquarium substrate to clean.
I recommend cleaning your aquarium gravel as thoroughly as possible every week when you perform water changes
For a more in-depth article on aquarium cleaning, see this article.
Here’s the equipment and steps for cleaning the gravel in your fish tank:
Equipment:
- Gravel vacuum
- Buckets
- Towels for spills
Steps:
- Unplug all your equipment and remove your lids and lights.
- Get a siphon going and begin to drain water into your bucket.
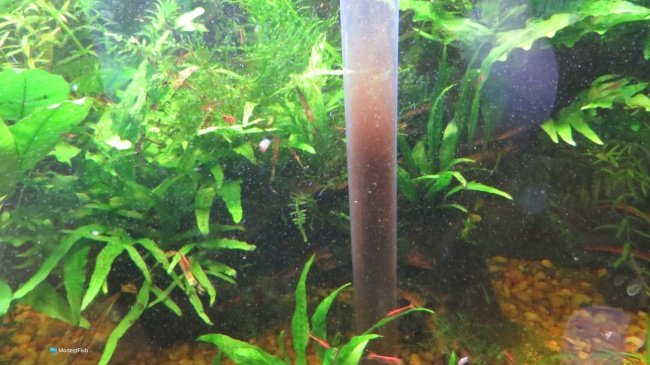
- Push the lift tube on the gravel vacuum down into the gravel until it hits the bottom glass. You’ll see a plume of fish poop and detritus billow up.
- Pick up the lift tube to dump the gravel back out and press the lift tube into the next patch of gravel. Repeat this process in all the open areas of the tank.
- Keep going until you’ve drained 50% of the water in the tank.
- Refill as you normally would. Be sure you add water conditioner.
Tips:
- Don’t be in a rush. Let the cleaned gravel fall back out so it doesn’t build up in the tube.
- If you have plants rooted in the gravel, proceed with caution around them. Don’t push the lift tube all the way to the bottom. Just push in a little bit so you don’t disturb the roots.
- Kink the drain hose if you need to slow the suction down some in tight corners of the tank.
- The dirty tank water is great for watering plants. There are lots of nutrients in it. Aquarium water is basically mild liquid fertilizer. You can fill up watering cans or even attach a long hose to your gravel vacuum that drains out into your garden.
Vacuuming Gravel Isn’t Hard
There is no need to be intimidated about cleaning your aquarium gravel. It’s very easy and simple.
Vacuuming your tank’s gravel will help eliminate solid wastes that have become trapped down in the substrate. Getting rid of these wastes before they rot in the tank really improves water quality and helps keep your livestock healthy.
This will also keep detritus worm populations under control.
I hope you find this article helpful.
I wish you and your fish the very best!

Great articles amongst all the others. Thank you for sharing your knowledge. I have one question, I have always been told to change a maximum of 30% of the water at a time but you mentioned that when cleaning the gravel , one should remove 50%. Could you explain as to why? Thank you
Hi Mia, I understand what you’re saying here. Over the years, I’ve also seen people advocate that you shouldn’t take more than 30% of your aquarium water at a time. The thinking behind this is, taking out more than 30% of the water will radically change your water parameters, and this will stress and harm fish.
I disagree with this line of reasoning.
If you’re doing regular water changes, your tank water parameters should be pretty close to your tap water parameters, the tank will just have higher nitrate levels and slightly lower mineral levels.
My strategy has been to remove as much poop and gunk from the substrate as possible. Removing these wastes prevents them from rotting in the tank and putting off nitrates. I find it very difficult to get the gravel vacuumed out properly with small water changes.
And some species prefer even bigger water changes. My Boesemani rainbowfish thrive with 75% water changes. They are far more colorful and active the weeks after big water changes vs. smaller ones. I’ve got loaches and otocinclus in that tank, as well as cherry shrimp. It’s a happy, healthy community tanks that’s been going for several years with no issue.
Also, if I’ve got a grow out tank, bigger, more frequent water changes lead to fewer deaths and substantially better growth.
There are only two instances in which I might be hesitant to use big water changes: tanks with delicate shrimp species and a tank that hasn’t had a water change in months.
Delicate shrimp, like bee shrimp, can get stressed from a large water change, causing them to molt before they’re ready. But shrimp tanks produce very little waste, so small biweekly, or even just monthly, water changes are more than sufficient. I have both cherry shrimp and Amano shrimp in several of my fish tanks. They’re just fine after big water changes.
A tank that hasn’t had a water change in months is going to have high nitrates, lower minerals and possibly a lower pH. To remediate a tank like this, I would recommend something like 25% water changes every other day for about a week. Then, you’d be able to go to 50% weekly.
I hope that answers your question. Have a spectacular day!