Marineland claim they’re the “world’s leading brand of innovative equipment and environments for consumers wishing to create the ultimate aquatic showcase”
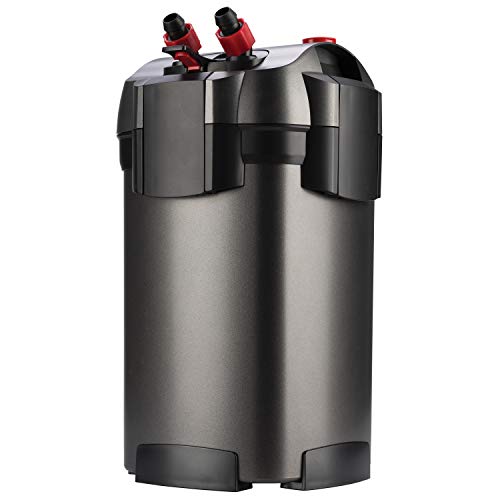
So I was pretty excited to get my hands on their Magniflow canister filter and run it on my own tanks to see just how it stands up to real world use.
In this review, I show you how I tested it, what I like and don’t like, how it compares to similar canister filters, and whom the Marineland Magniflow canister filter is best for.
TLDR: Review Overview
I like the Marineland Magniflow, for the most part. As far as price, biomedia capacity, performance and priming go, this filter did well during testing.
I did struggle with getting this filter installed, it was not a good experience for me and I have never had to fight so hard to get a canister up and running.
I also have some nit picky things about doing maintenance on this filter that I think could be improved upon, and I wish it included more mechanical media.
However, overall, I found the Magniflow to be a good, reliable machine that got the work done.
It’s not that I dislike this filter, it’s just that I really like the Fluval 407 more.
The 407 is the Magniflow’s biggest and closest competitor. The two canisters even have the same red and black color scheme and look very similar. And I think the 407 has an edge over the Magniflow.
The Marineland is slightly cheaper, but in my opinion, it’s worth the extra money to get the bells and whistles that come with the Fluval.
Last update on 2024-04-18 / Commissions Earned / Images from Amazon Product Advertising API
How I Tested The Marineland Magniflow
I wanted to truly test this filter out and get a feel for what it’s like to use it day in/day out.
So, I set up this Marineland filter on a 70 gallon (265 liter) horse trough that I am using as a grow out tank for some goldfish.
The trough holds a school of 20 juvenile comet goldfish. I chose this species because goldfish are pretty much eating and pooping machines and are just about the dirtiest fish available in the aquarium hobby.
If a filter can hold up to these guys, you know it’s got to be good.
I got the filter set up and then let it run for several weeks. Then, I took everything apart and cleaned it, just like you would your normal aquarium filter, so I could see what it was like to perform routine maintenance on this filter.
As always, I took a lot of notes and pictures along the way so I could gather my thoughts and write a comprehensive review.
In particular, I was looking at the following factors:
- Installation – was it difficult to get this filter installed?
- Priming – how hard was it to get this filter started as a part of initial install and after maintenance?
- Performance – did this filter do a good job of maintaining healthy water parameters? How was the water clarity while using this filter?
- Maintenance – was it difficult to perform routine maintenance on this filter?
- Noise – how loud was this filter?
What’s in the Box?
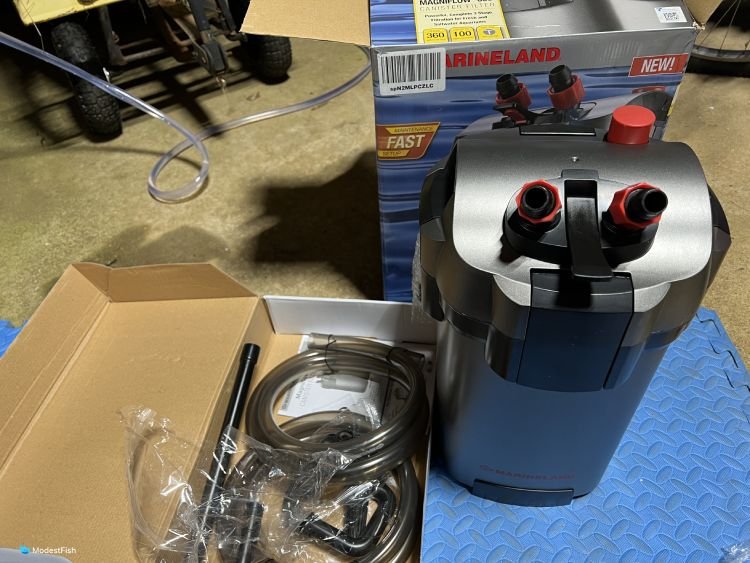
You get quite a bit of equipment with this filter:
- Canister
- Quick connect valve
- Hoses
- Intake pipe with strainer
- Outflow pipe with directional nozzle
- Media baskets
- Course reusable sponge
- Mesh bag with activated carbon
- Bio balls
- Ceramic noodles
- Hose clamps
- Suction cups
- Instructional manual
So, let’s take a look at the criteria that I set out earlier:
Installation


Installation was the biggest downfall of this filter, in my opinion. I’ve installed A LOT of aquarium filters in my time (yep, I’m old), and I have never struggled with a filter like I did with this one.
Getting the outflow and intake pipes attached to the hoses on this filter were a giant pain in the butt. I even tried my trick of greasing the pipes with a little bit of chapstick to get the hoses to slide on easier, and it was still difficult.
Once you finally wrestle the hoses onto the intake/outflow pipes, you have to lock them in place with these small plastic hose clamps. The clamps are very narrow, and you have to use strong force to get them to bite down and hold securely.
The clamps hurt my fingers when I squeezed them close. It was really uncomfortable and I gave up and squeezed them shut with a pair of channel locks.
There’s nothing in the instructions about needing tools. I must say, I was not enthused by using these clamps, it was not a good experience.
If it were up to me, these things would be going through a major redesign to make them more user friendly.
Also, the hoses were not very unforgiving when it came to trying to get them to bend the way I needed them to.
The hoses stubbornly fought me every step of the way. They just wanted to stay coiled and were really difficult to route where I needed them.
I did not like the lack of options when it came to the outflow for this filter. There is no spray bar included, only a directional nozzle. This isn’t good if you need to diffuse the flow coming out of the filter.
Also, the curved pipe for the outflow is very short. It only hangs a few inches down from the rim of the tank. I would have much preferred that it went further down into the water.
The directional nozzle also comes off the outflow pipe VERY easily. I accidentally knocked it off during install several times. It was really annoying.
One good thing about installation, it was very easy to get the rubber gasket for the motorhead installed. Sometimes, getting a gasket like this seated can be a major fight, but this one slid right into place on the first try.
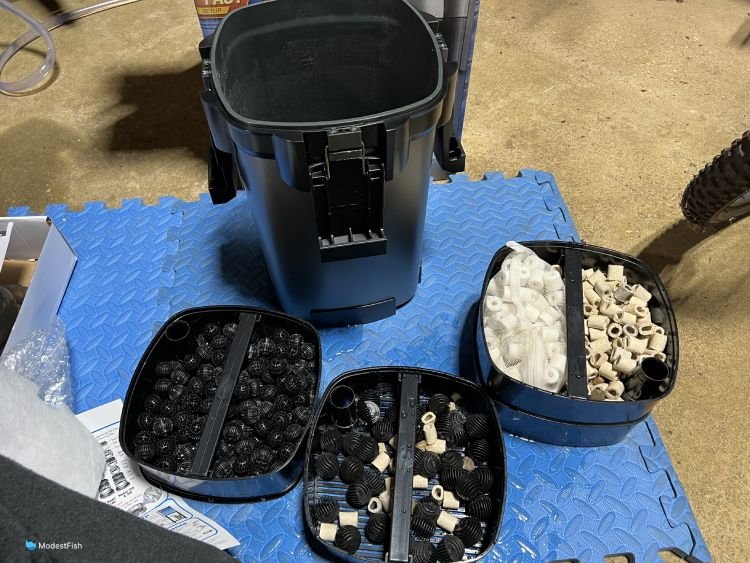
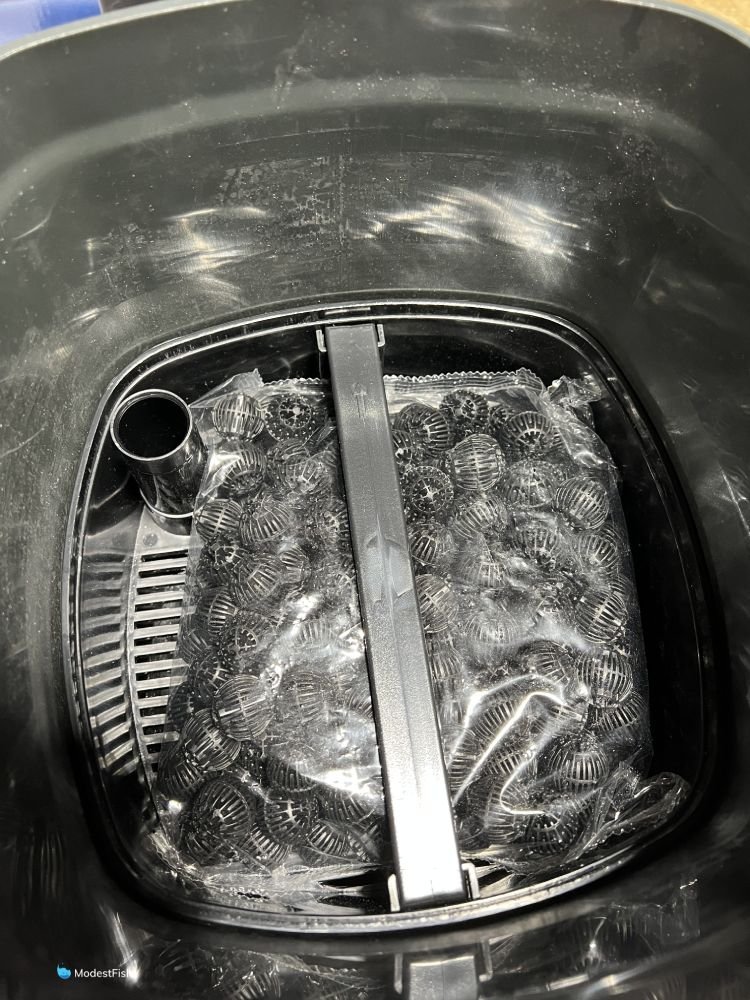
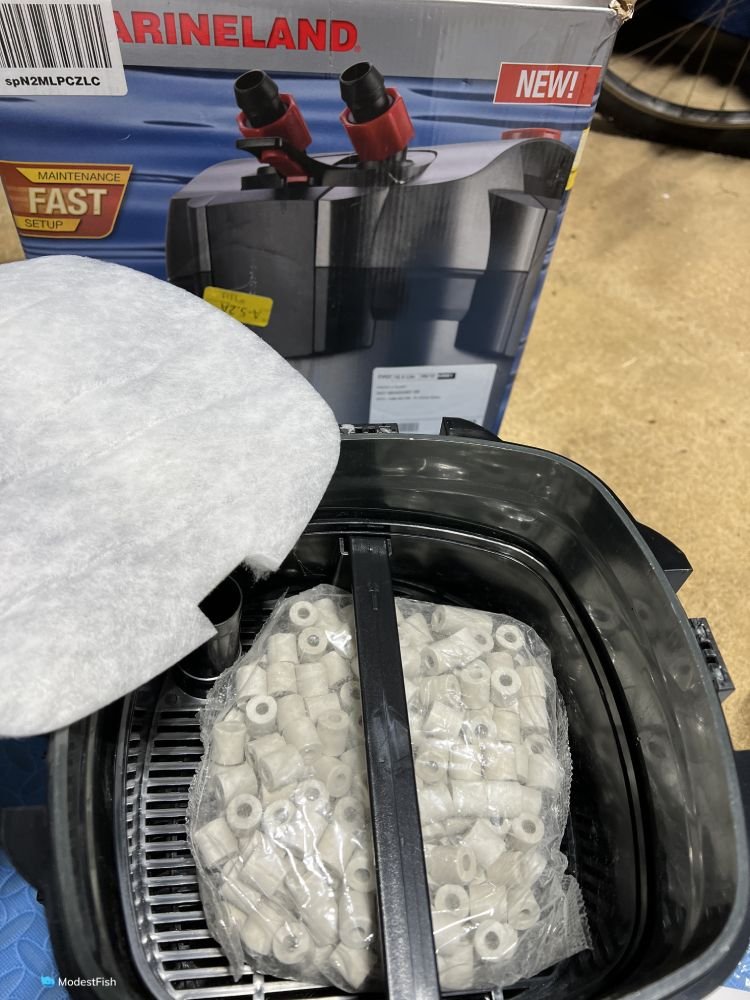
This filter comes with four stacking media baskets. You get all the basic filter media you need to get up and running:
- Mechanical media – coarse sponge
- Biological media – bio balls and ceramic noodles
- Chemical media – activated carbon
I set this filter up with the media that it came with for testing, and it performed well.
But, if I was going to run this filter long term, I would skip the carbon and add additional reusable sponges to increase the amount of mechanical filtration.
Make sure to rinse all of the filter media. The ceramic noodles especially can build up a lot of dust from being jostled in shipping.
I do like the quick connect valve on this filter. You connect the hoses to the valve and it plugs into a port on the top of the motorhead. It has two levers, a big black one that locks the valve onto the top of the motorhead and a smaller red one that you twist to turn the water flow off and on.
It only takes a few seconds to connect or disconnect the hoses from the top of the motorhead. This is great for maintenance.
The motorhead will only go on one way, but it’s not hard to figure it out. One of the long sides of the top has a Marineland logo that you line up with a notch on one side of the canister.
Once you’ve got it lined up properly, the motorhead seats down firmly with large plastic clamps and easily forms a good seal.
Priming
Priming this filter is simple as long as the intake hose runs straight from the back of the tank to the canister.
There is a large priming button on the top of the motorhead. I just pushed this a few times, and gravity started to pull water down into the canister.
Once the canister was full of water, I just plugged in the motorhead and it immediately started sucking water out of the tank, not hard at all.
Performance
This canister performed well throughout testing.
This filter did a great job of trapping wastes. Some of the other canisters I’ve tried have left little piles of poop on the bottom of the trough, but this filter sucked all that up and trapped it in the sponge.
My water parameters remained steady throughout testing. I had no ammonia or nitrite spikes.
The water clarity was great during this time period. I didn’t have any problems with cloudiness or excess detritus in the water.
Maintenance
Performing maintenance on this filter was very simple.
I unplugged the canister and shut off the water flow with the red lever on the quick connect valve and disconnected the hoses from the motorhead.
I took off the motorhead itself and set it aside.
The canister itself is a bit awkward to carry when it’s full of water and the media, so I chose to take the baskets out before trying to move it.
I don’t like that I had to stick my hand down in the dirty filter water to retrieve the baskets. I much prefer filters that have a central handle so I can just pull all of the baskets out at once.
This is something that I think Fluval does better than other brands on the market. Their filters have a central handle that lets you pull out all the baskets without sticking your arm down in the poop water.
Once I had the media baskets out, it was simple to dump the water out of the body of the canister.
I sprayed out the mechanical media to wash the gunk out and rinsed the biomedia in some dechlorinated water to clean it off a bit.
Then I put everything back together. The quick connect valve retained the siphon. All I had to do was reconnect the hoses and open the valve and water started flooding into the canister.
Once it stopped gurgling, I plugged in the motor. It had a little bit of trouble at first, which is typical of a lot of canisters. I just plugged/unplugged it three times and it started up.
I wasn’t concerned because I’ve had lots of canisters act this way when I went to start them up. It just means they have a bit of excess air in the body of the canister that they need to burp out. No big deal.
All of this took me about 40 minutes to complete.
Noise
This Marineland filter was one of the louder filters that I’ve tested. When I measured the sound it emits with a meter, I got an average reading of 55.1 decibels.
In a quiet room, you can hear a strong humming coming from the canister.
The hum is noticeably louder than the very soft hum that comes from other canisters, like the Fluval FX6 and Fluval 407 filters that I recently tested.
I’m not trying to say that this filter is loud, it’s actually very quiet considering how much water it’s pumping. But, it is louder than several other similarly sized canister filters on the market.
Overall Pros and Cons
Pros:
- Really nice quick connect valve
- Comes with all the filter media you need to get started
- Good performance
- Easy priming
- Simple maintenance
Cons:
- No spray bar
- Installation was very difficult and annoying
- Louder than other canisters on the market
Last update on 2024-04-18 / Commissions Earned / Images from Amazon Product Advertising API
How Does the Marineland Magniflow Compare?
This filter holds up well in some aspects, but takes a beating in others.
I will say that this filter did a great job maintaining both my water clarity and water parameters.
The Maniflow is louder than most of its competitors. That’s not to say it’s actually loud, it only gives off a humming sound, but if you’re looking for the absolute quietest canister filter on the market, this isn’t it.
My tests did show that this filter gave off an average of 55.1 decibels. That’s just over 3 times louder than the Fluval FX6 and twice as loud as the Fluval 407.
I also must say that the mechanical media that’s provided with the Fluval filters is much better than what comes with this Marineland.
You really don’t get much in the way of reusable sponges with the Magniflow, whereas the Fluvals come with several sponges that are great for catching algae and gunk.
I didn’t like that I had to reach down into the dirty water to pull the media baskets out for maintenance. I much prefer filters with central handles that let you pull all the baskets out at once, like on both the Fluval filters.
As much as I obviously like the two Fluval canisters that I tested out, I do have to admit that they are more expensive than the Marineland Magniflow. So, the Marineland doesn’t have all the over-the-top features of Fluval, but it can save you some dough.
Who is the Marineland Magniflow Best For?
I think this filter is best for someone looking for solid performance and easy maintenance, but is also wanting to save a little cash.
I’m sure it’s pretty obvious that I thought the Fluval 407 edged this Marineland out of the top spot, but the 407 is a bit more expensive.
This filter performed really well. My water parameters were good, despite the fact that I have a bunch of the dirtiest fish known to man in this setup.
Water clarity was great and doing maintenance on this canister wasn’t bad at all.
So, if you’re wanting to stick to a budget and are looking for a reliable economy model, this is the filter for you.
I would recommend this filter for tanks from 55-70 gallons (208-265 liters). It should be great for fish only or planted tanks.
I would recommend adding on a sponge pre-filter if you want to have shrimp in the tank, especially smaller species like cherry shrimp.
Last update on 2024-04-18 / Commissions Earned / Images from Amazon Product Advertising API
